Nato Watch Strap – 4
Some extra bits that may add to the finished product –
Going Loopy
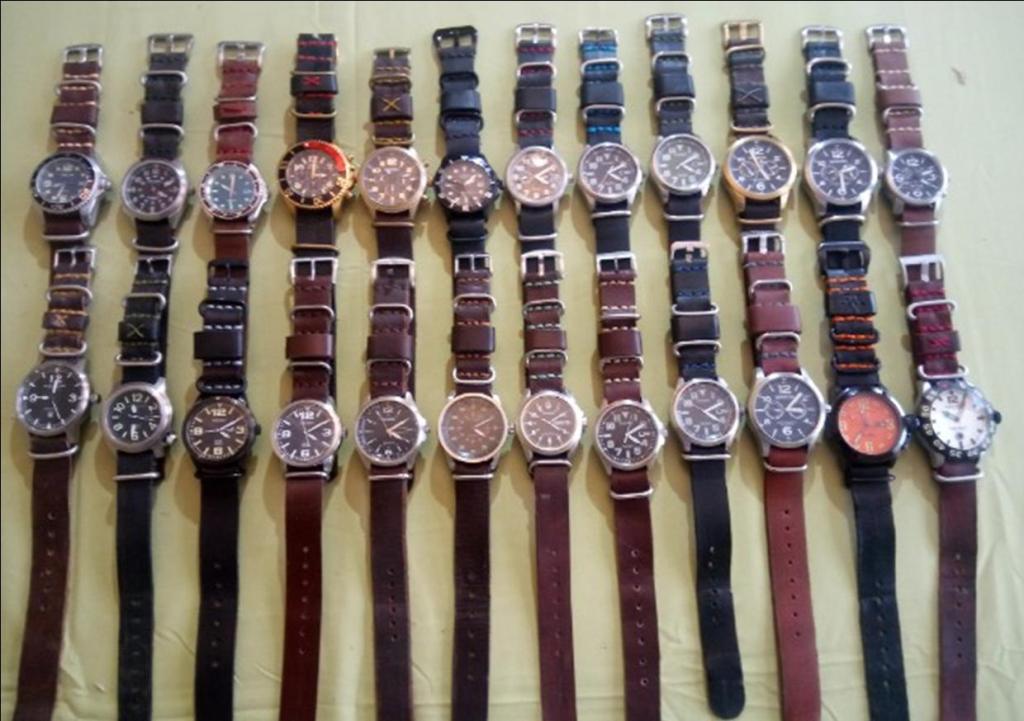
Preferably you’ll want to use the same material for the loop as the strap, unless you’re making a statement. I often reuse loops after the main strap has broken, and you should get away with black as long as the finishes aren’t radically different. Brown is more problematic. I’m usually looking at loop blanks of around 65mm x 9-11 mm. The length is measured as around the folded strap plus 2mm for ‘ease’. The width can be determined by the maker but will need to be matched to the template above, in other words it has to fit between the stitch lines comfortably. For reference it’s the gap centre – with the clip circled yellow – on the image at the top of page 3 (in days gone by ‘a gap on page 3’ was known as cleavage).
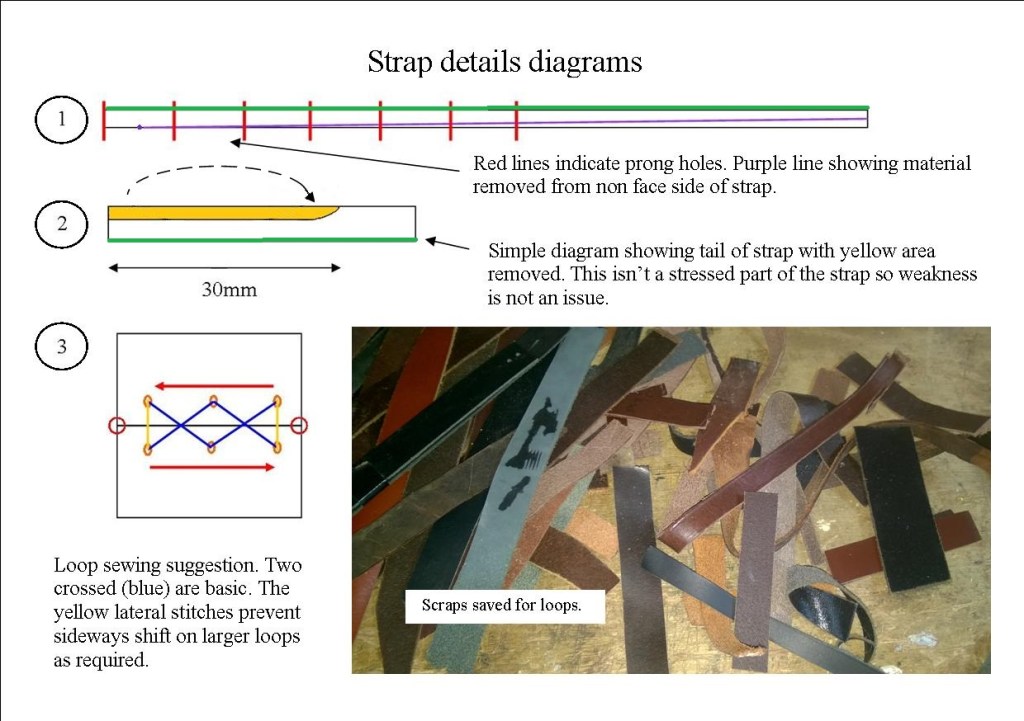
Thinning the loop might be difficult but fixing a larger piece to a piece of wood, thinning, and then cutting a smaller section is a good way to go. Stitch as per the reference image below, 3, using strong thread, preferably nylon as it doesn’t rot. Six or four holes (orange circles) as required for width.
A bit more skivving
Yes, some of the strap can be thinned in certain areas, and I carry this out on two distinct parts of the blank. Firstly the ‘tail’ – where the end ring fits on. Around 30-40% thickness removed for 30mm length. It makes folding/sewing that part easier, and helps the strap sit even flatter – Above 2.
I also tend to thin the opposite end of the strap. Beginning between the first and second prong hole (nearest the watch) and tapering as I go towards the tip, often losing as much as half its thickness at the end. It is more pleasing to the eye. It also adds to the whole custom made appearance – Above 1. Do not go any further towards the watch as you’ll enter the ‘green’ weak zone. See previous pages.
Getting Punchy
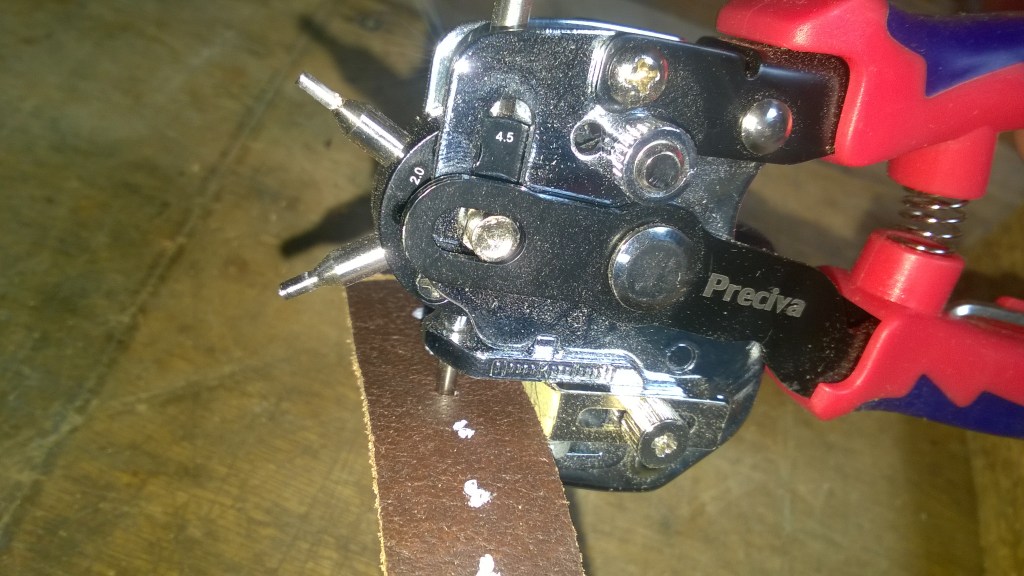
An oval punch is good and neatens up the buckle end (this hole is first seen on pg 2, second image down – circled orange) of your strap, looking much more professional -see image 2 down top left. For the prong holes I’ve used a number of different methods/tools. This is sometimes dictated by the size of the prong. My ‘go to’ now is the punch shown in action below. I can slowly bring down the cutter, position it accurately over the white dot, and crisply cut a neat hole.
Changing Buckles
You may have a few straps and change them as the mood takes you. Changing the watch’s matching branded buckle may complement the swap.
Three types of buckle bar are usual. The solid bar type i.e. cast as part of the buckle , the only movable part being the prong. Most common on NATO straps using a ring as the buckle. Once you’ve sewn one of these in – that’s it. You’ll need to split the whole strap to remove it. The other two have removable pins (spring bars is the correct term) as the central pivot – See below. The bottom left hand pin has no means to remove apart from the holes found in the buckle frame. Of the two types of bar seen both can be used in this type of buckle. The buckle with blind pin holes (ringed green), that is only partially drilled into the frame, will only take the pins with a shoulder ridge. You can get the plain ended type in but not out! There is nothing to get a tool on as you can with the other type, as portrayed.
You may need to bend the spring bars/pins to enable the strap to pass through as noted above. The pins are thin tube and prone to collapse. Go easy and bend them incrementally. See Image centre left inset. It’s best to go left, right, centre as marked by red dots. Going just for the centre first will likely collapse the bar. Something tapered – tweezer tips or long nosed pliers – are ideal.

Top Tips
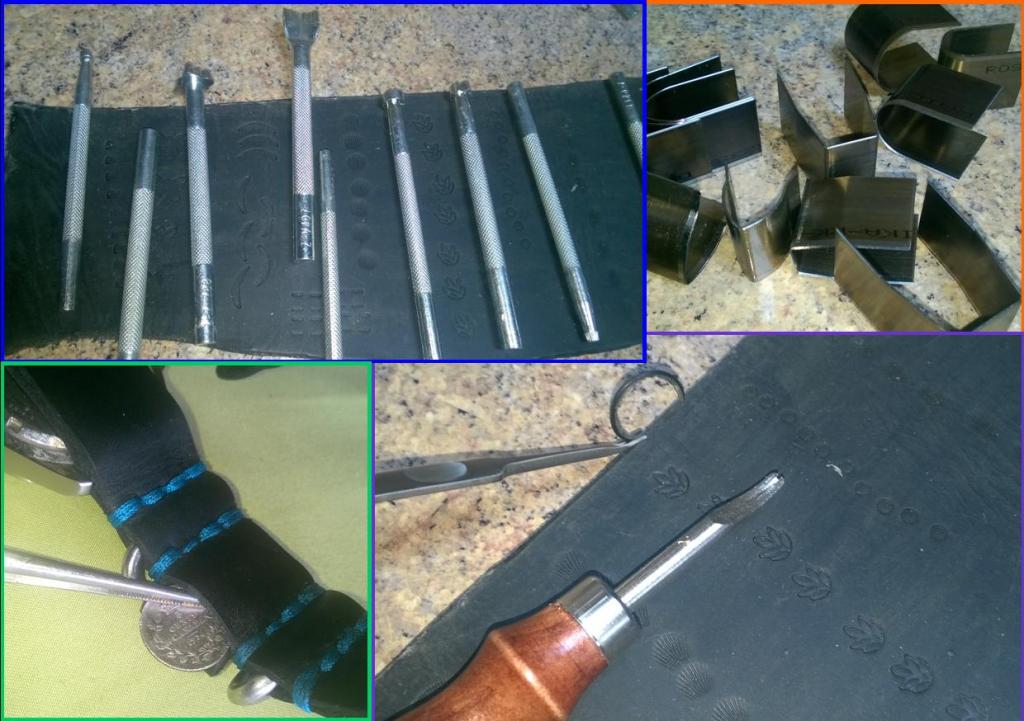
The common tips shapes are described above on pg 2. It’s difficult to get a symmetrical result freehand so don’t be too ambitious early on. Mark with a pencil or paint marker, rub out if wrong (not mafia style) and go again. If happy – cut to shape. Tidying up can be done with a sanding stick/emery board. Some ‘economic’ cutters are shown below top right. Careful positioning and accurate, square striking with hammer/mallet is a must.
Edges and Patterns
I have run a tool along edges in the past to tidy them up or attempt a different look – below bottom right. I’ve not been over impressed. Too much and it looks unsightly and not enough does very little. So the plain edge is the best.
You want to add decoration? There are embossing tools available and some are shown below, top left. If using these, it’s a case of less is more. Too much looks gaudy and cheap. Having mentioned adding stitches to the loop as an aesthetic touch you could always add a couple to the tip – which is common in commercial straps of all types.
Funny little bits
A strange thing I realise, but I’ve suggested in the past that people put coins (an old sixpence with someone’s birth year for example) under the loop between the two strap layers. Perhaps a medal or token with some meaning, a St Christopher for example. It’s personalises the item, and adds meaning for the owner and maker. Bottom left above is a Canadian ‘nickel’ – actually a silver 5 cent piece from 1914 – finding a home behind the loop.
Alternative materials
So you’d prefer not to use animal products: what else can I use? Canvas is the obvious choice – I’ve seen some straps use fire hose – but you can use other suitable fabrics. You’d need some sewing skills and access to a sewing machine if you can’t sew by hand. Cut your fabric at, for example, 50mm x 500mm. Fold with the face side on the inside and flatten – sew along a line 22mm (or 20,24 etc according to size desired) from the folded edge. Turn tube outside in. Flatten. The stitching falls beneath and will need to be moved slightly off centre or the prong hole will cut the stitch line. I’ve also investigated using ‘grosgrain’ ribbon. It comes in suitable sizes and sewing 2 22mm x 50cm lengths together gives a fairly robust blank (you’ll need to sew very close to the edges or it looks a bit silly). A hot awl makes reasonable prong holes, or see below.
Apart from the last bit above the real problem with a cloth strap is strength in the prong hole area (I won’t tell you again -stop it!). In basic nato straps the holes are melted through giving reinforcement to the hole edge. Better straps have a leather or other material sewn in/on to give strength. Still others have eyelets for the same purpose. Although I don’t like the eyelet look, so I may seem bias, sewing a panel in looks the best way. Either directly on the outside or slipping it into the tube and sewing into place. Results may vary – it’s not something I have a lot of experience with wearing or making.
Cleaning
Like all straps, or anything wearable, this is going to get dirty. On top of the external contaminants, dead skin and oils are going to build up. Wash it!
No, not in the washing machine followed by the tumble dryer. A bit of hand soap, baby soap etc. Treat it like you would your own skin. A nail brush or old toothbrush will be great. The stitching will pop back to life. Rinse well and pat dry, flatten. Don’t put it somewhere too hot to dry, it’ll shrivel up (insert your own joke here), normal room temperature is fine. Re-apply some vaseline or similar when dry. The strap will look much better and last longer, plus it won’t smell like something has died on your wrist.
Images and Article Copyright © 2025 by L.C McCarthy
