Bookcase
This little bookcase was made from left over flooring. The amount I had dictated the size, construction and look. It has some small pieces inlet here and there to make certain parts usable. See if you can spot them!

Here we are getting a bit ‘Sur le Pont’ again, if you’re following the sub text. I do think this style compliments the floor and allows more light to reflect. The two dark marks (bottom left of base) are from iron nails in the original bridge. I left them on purpose – it’s history. Douglas Fir has a nice warm pinkish hue as can be seen here. I’ve clearly borrowed a load of posh clever looking books to try and convince onlookers of my credibility. The fines I got from the library were huge!
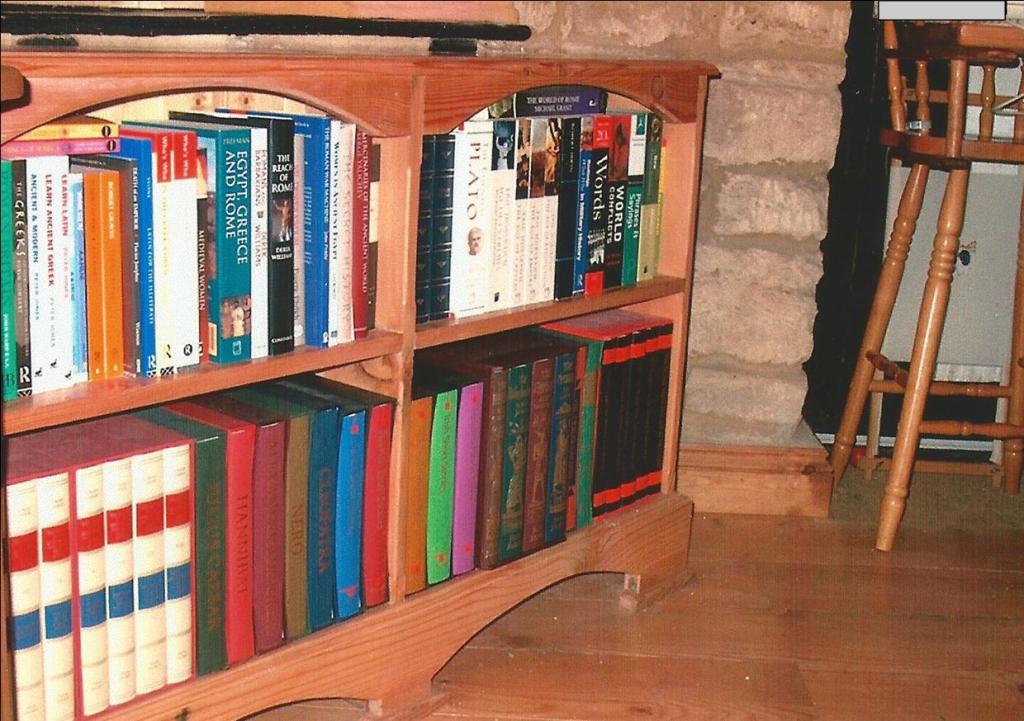
‘Avignon’ is replicated at the top of the bookcase which brings it all together and ‘opens’ and ‘lightens’ the front. I contemplated – when designing the item – whether to add the same motif across the middle shelf, but decided it would look too fussy, restrict book size, and I already had a eye on material available.
Finishing – I’ll add in here about how I like to finish my projects – Easily? – No, I mean what I put on the wood. I like a wax finish, the natural feel and subtle shine are perfect to my eye. As many know the problem is people who put drinks on waxed surfaces, hot or cold. You can’t shoot them – getting blood out of wool carpet is a nightmare. I prefer putting a coat of thinned water based clear indoor varnish onto bare wood. A milk like (skimmed) consistency should soak in a little. Once dry rub down with 120 grit, just enough to smooth the surface. Wipe clean. Recoat with an unthinned coat. Once dry a quick de-nib with sandpaper. Wipe down, and preferably leave overnight to cure. Wax as desired.
I always use clear, not coloured varnish as it doesn’t interfere with the final coat of wax’s colour. If the surface does get marred by a hot cup it can be polished straight out most times. Spilt red wine won’t ruin the wax surface and stain the wood underneath. In the worst cases all the wax can come off and be reapplied. – This approach is based around water based finishes (the varnish) not interacting with spirit based finishes (wax). They are chemically exclusive.
Nice Rack!
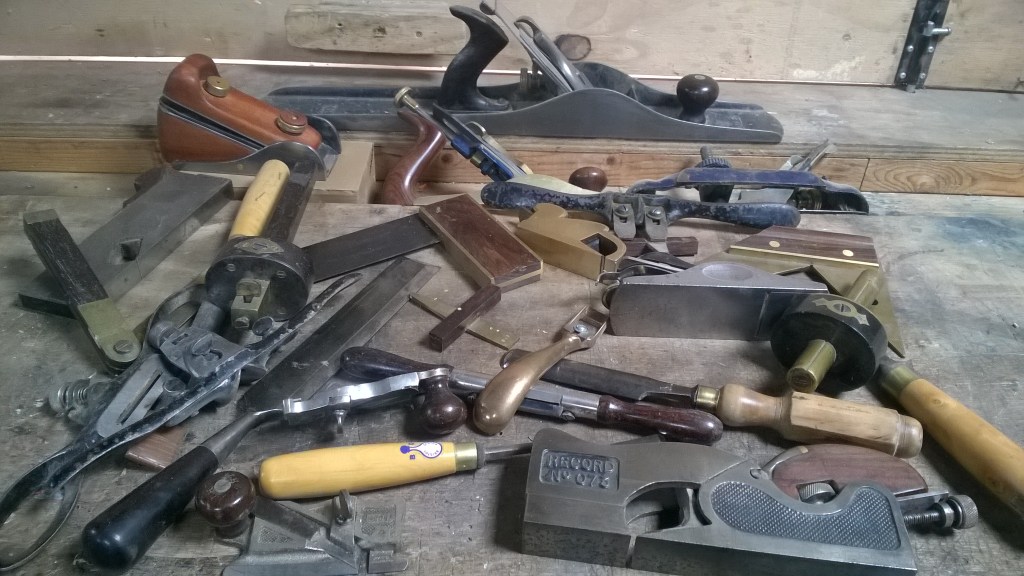
Two items together here. Both fairly easy to make. First make two sides and mark where the bits between the sides go and cut the relevant slots. Again I’m over simplifying but simple is the reality. Often certain things are made to look complex in order to gain money, or control those who trust providers to be honest, which they often aren’t.
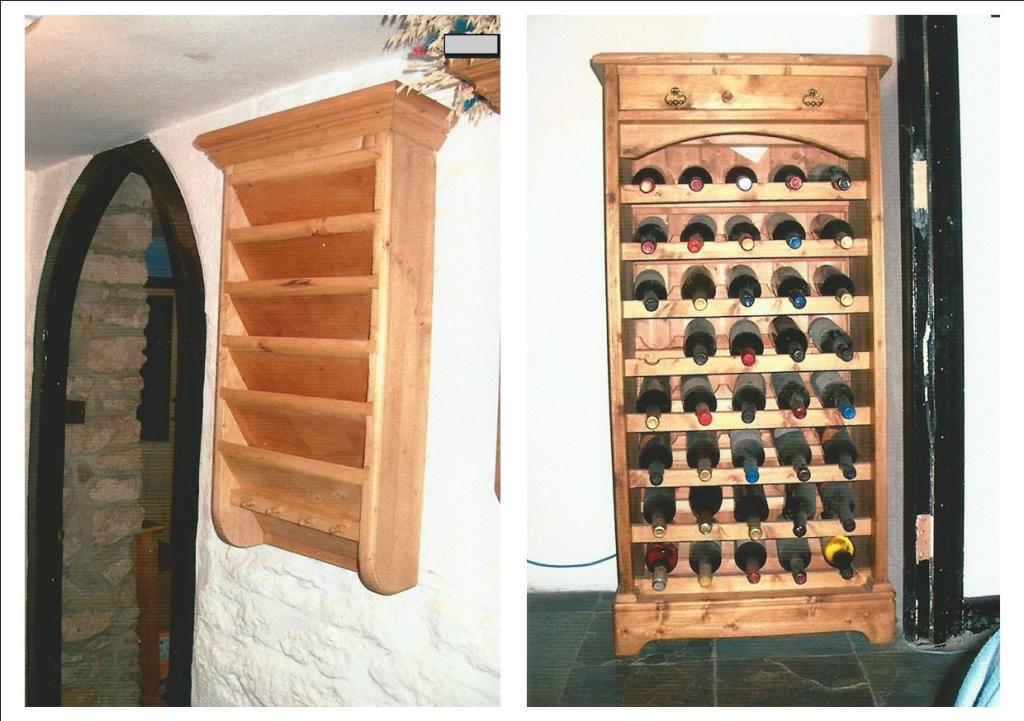
At left is a letter rack made from left overs from other projects, mostly from the wine rack on the right. The letter rack shelves are plywood salvaged from a 60’s office unit. Rather than show the plywood edges. I’ve edged them with timber to match the carcass (main part). I designed it in expectation of my kids having a ‘slot’ each for their mail. The slots do indeed have their mail in them but unfortunately it’s mail that goes back at least a decade. They’ve left home now but contrary to rumour I didn’t force them out!
The wine rack holds 40 bottles, up to a weeks supply in some people’s houses. The row at the top and one at the bottom can take champagne bottles. There’s no arch at the base as the construction doesn’t allow for it. The drawer at the top is for corkscrews, foil cutters and other wine lover’s paraphernalia. It actually contains; 4 dead(?) batteries, a handful of assorted empty biros, foreign coins, a remote control of uncertain application, bits of kids toys (lego mostly), buttons in tiny ziplock bags, a receipt from 2007, a ‘pair’ of glasses with an arm missing and only one lens …………
Another couple of bits..

Another couple of self designed pieces. The rack (top) turned out well with the spindles and ‘mug’ pegs all turned on the lathe. A template* was made to ensure the spindles were uniform. I’ve made the trefoils (the three overlapping circes – four is called quatrefoil) a motif that adorns the sides as well as the front. No, those aren’t small white plates -they’re anonymity circles.
* Cut one spindle to a shape you like. Trace the profile onto a piece of thick card and cut it out. Use this to reproduce the remainder, marking and removing material as you go along. Small steps – check, cut, check, cut, check… – you get the idea.
The box was made when my eldest boy arrived. Not just to hold nappy rash cream and baby powder, but for him to keep, which he has. It became Action Man’s mission HQ. The lid was made with a draw to keep all his baby documents and keepsakes in. Designed along the lines of a military chest it’s quite robust but heavy. My son still has all his fingers but the lid is too heavy and too large. For me all design is dynamic, and lessons are there to be learned. The joints, all dovetails, were hand cut in 30mm softwood using a nice long Sorby 3/4″ paring chisel. The tool’s slim bevel profile was a godsend in such a laborious job.
