Pistol Case
I was asked a while back to make a case for someone who’d purchased a pair of single shot percussion pistols. I chose oak as it’s a favourite of mine, and I had a good few bits in stock. A small job like this is a chance to use up some of the smaller pieces I’ve saved.
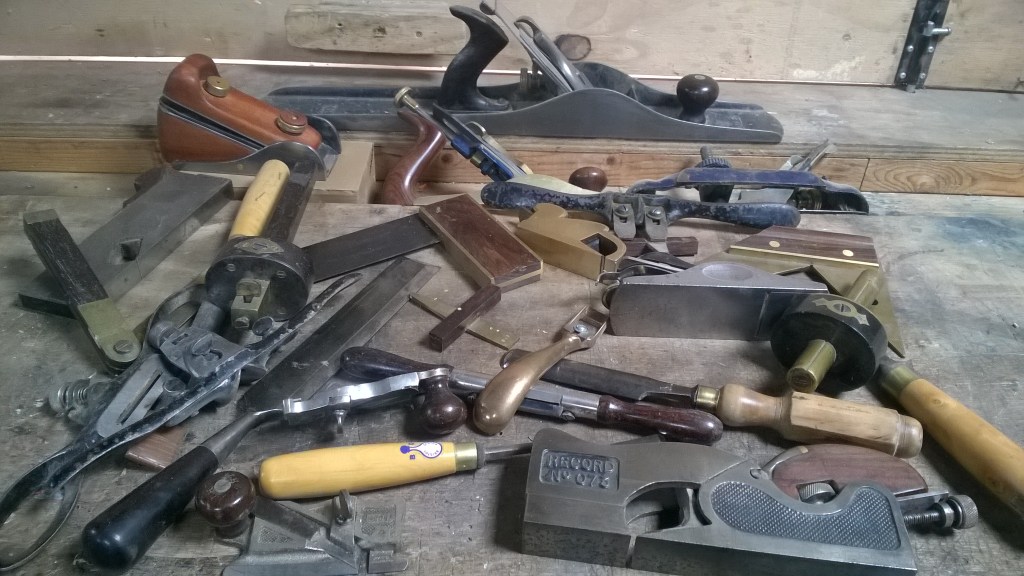
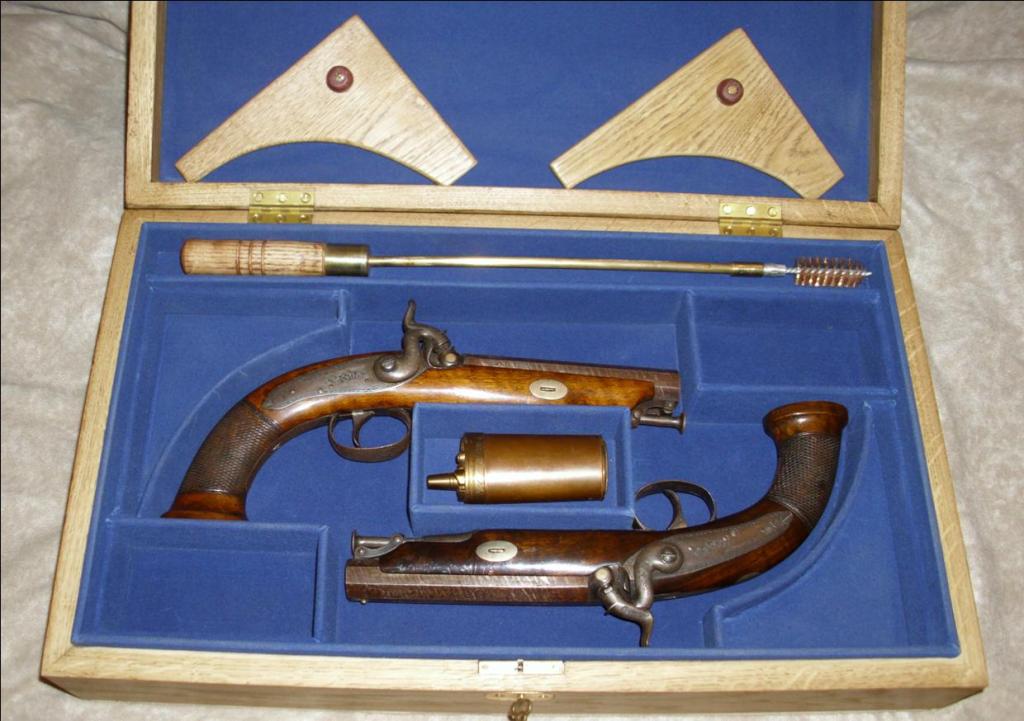
Where to start? Not as difficult as you may think. What needs to go in the box is the start point. The pistols of course and the powder flask, at centre, came with them. The cleaning rod (with brush) is brass and oak, and was made by yours truly. You will also want to provide space for lead balls, percussion caps (usually in a tin for safety) and cloth patches as a minimum. A mould for casting shot and a percussion cap tool – a ‘capper’ – plus tools such as a screwdriver for the lock plate, a wrench for nipple removal – not human type – and various other tasks could be included. The cost, quality and application determined what went in the box. The image below demonstrates this.

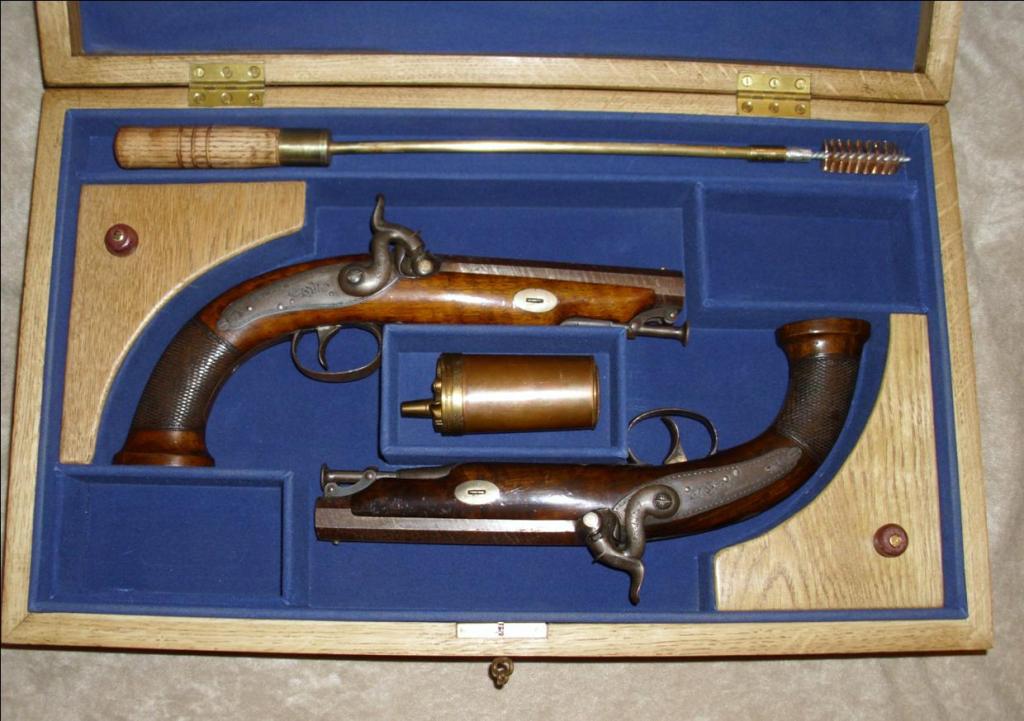
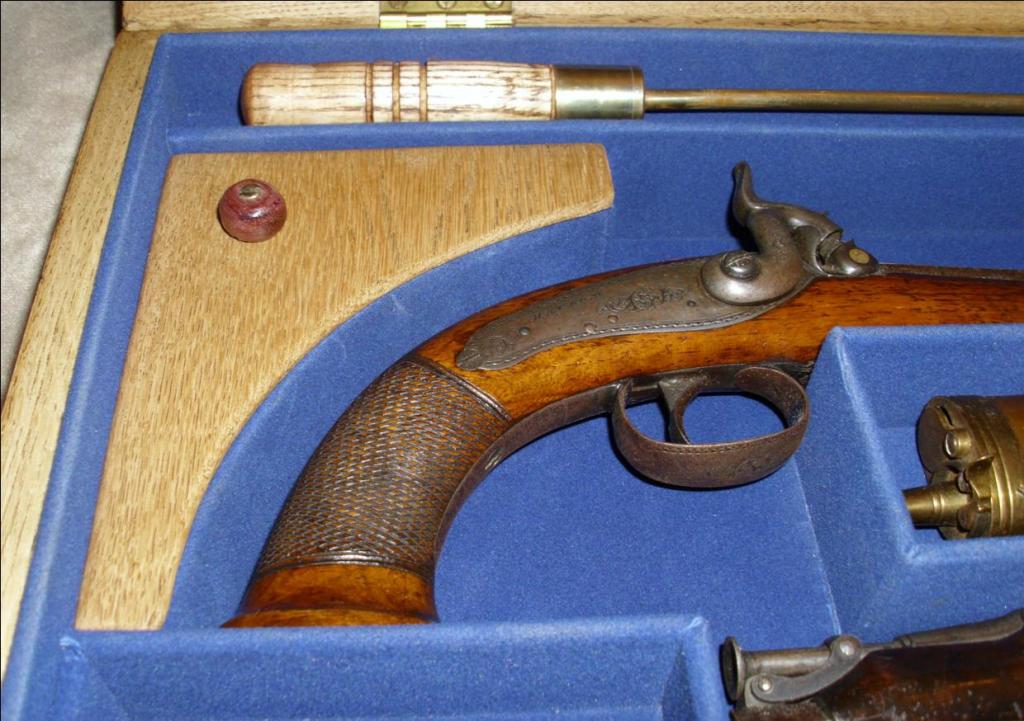
Note : At this point its worth giving some background to the pistols in question. Although bought as a pair recently, they are not a pair in the usual understanding. I told the owner, who wasn’t best pleased. This pattern of pistol would have been utilised by Police, Customs and Excise and other such Government agencies. Also available for private purchase, they would have been fairly inexpensive. Gunmakers produced them, for stock during quiet periods, from parts and wood left over from other projects to a common template. The ‘pair’ in question differ greatly in their stocks – the lower one is darker, denser and more figured – walnut from closer to the centre of the tree. The upper pistol is lighter and the grain much straighter – clearly not expensive heartwood. If a maker presented these to a punter as a ‘pair’ in 1830 the customer would be saying WTF! A properly matched pair would have as near identical stocks as possible – a desirable and critical selling point that fetched the highest prices.
Being a low cost ‘economy’ model it’s unlikely much would have come with a weapon such as this. Government departments would already have many of the accesories on hand. A fitted box would not have been supplied – unless requested and paid for. A bit like buying a poundshop screwdriver then asking why it doesn’t come with a handmade, gold embossed, Morocco leather pouch.
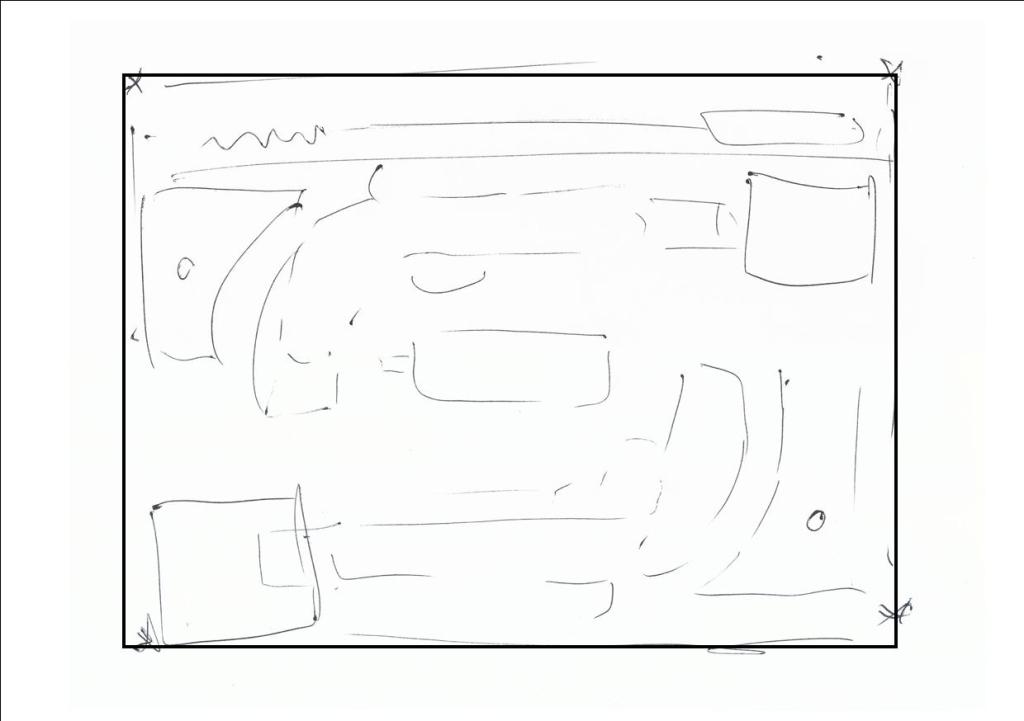
Laying the items down on a large (A3 in this case) sheet of paper and adjusting them into an acceptable, visually pleasing layout is the first step. You can then measure the extent of the ‘footprint’ and make an appropriately sized box. I made 4 mitred sides, and a top and bottom that fitted into grooves in the sides. Once glued up I had a box that I could not get into. All gone wrong? Nope, I marked a line 2 inches down from the top all the way around and sawed this bit (the lid) off. This requires care and precision in order that, after sawing all the way around, you come exactly (within a tenth of a millimetre, preferably less) back to your start point.
I then cut a piece of 1/8″ – 3mm – plywood to the dimensions outlined in black above. This is going to fit separately into the bottom of the box. I was not inclined to use the base of the box for this as the fixings would be seen on the bottom of the case. Not acceptable. Mark on the ply the ‘walls’ positions in the interior. I then glued and pinned 45mm high pieces of 3mm ply in those positions. Some required steaming in order to achieve the desired curve. The entire surface is then covered in the baize as seen.
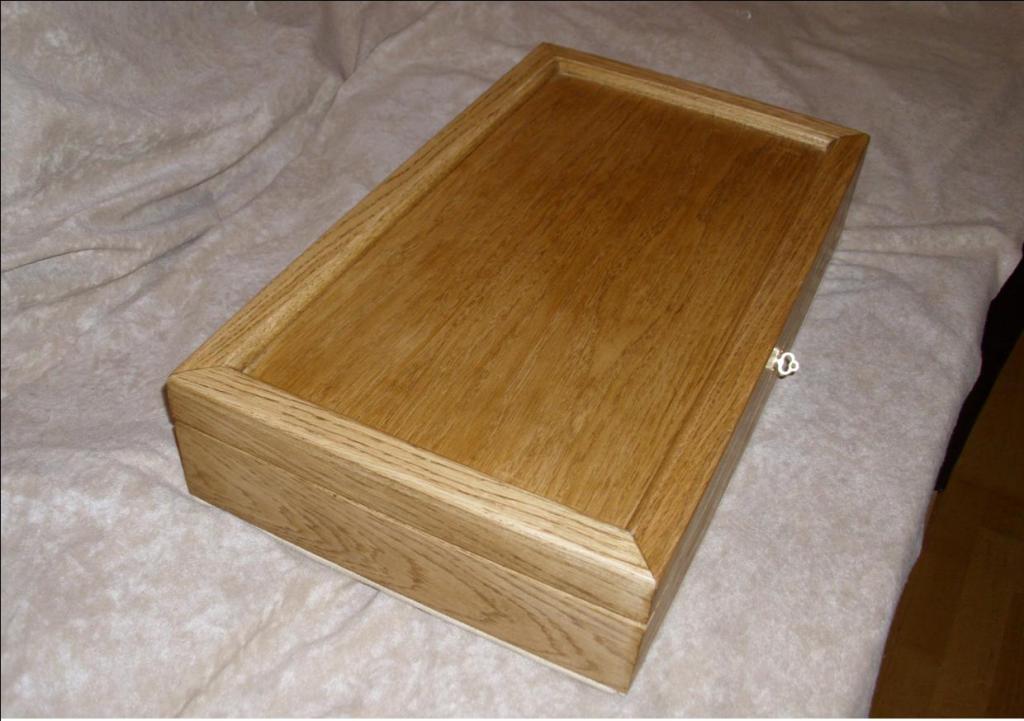
The covers for the curved compartments were made individually from solid oak with rebated edges to fit snuggly. The knobs are made from purple heartwood purely for interest and uniqueness. It may not be obvious but the outer sides of the interior are slightly higher (1/4″) than the rest of the interior so as to locate into the lid when closed
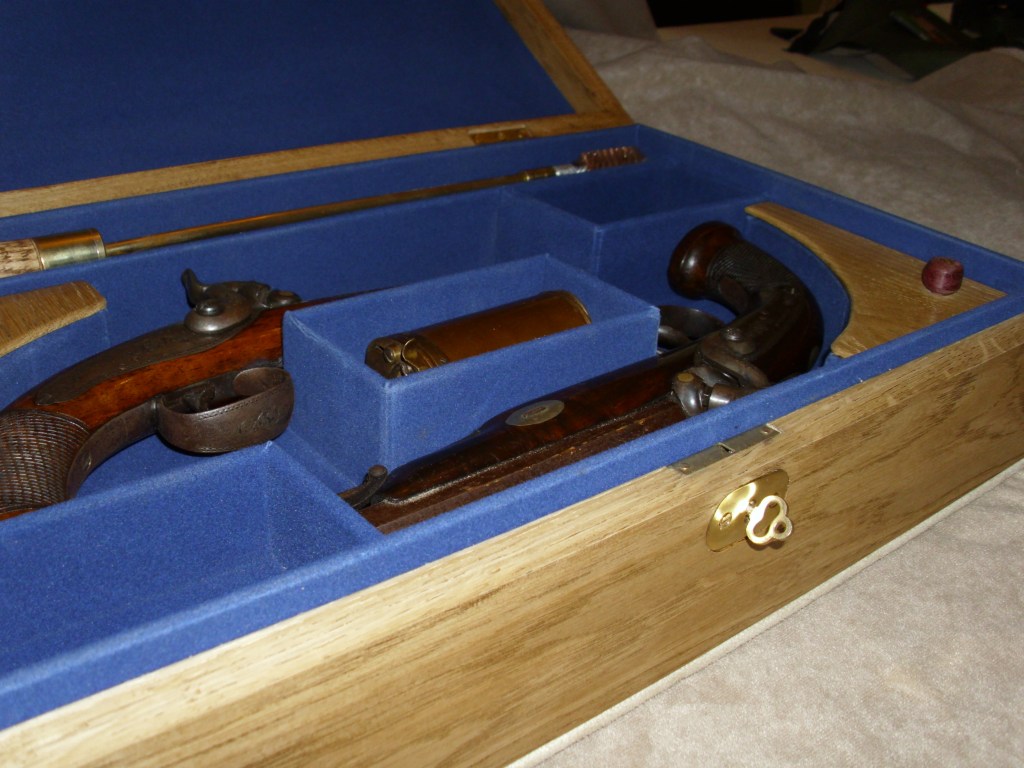
Ahhh.. Spoke too soon – You can see the raised edge quite clearly here. Crikey, who writes this stuff? The thin white(ish) line visible at the base of the box is suedette, a late addition to prevent potential surface scratching. Nice brass lock and key to finish.
Images (bar those identified) and Article Copyright © 2026 by L.C McCarthy
